Once you log in, you’ll go through a simple step-by-step onboarding that will guide you through the entire setup process.
No technical skills needed — our plugin is designed to be easy to install and get running in just a few steps:
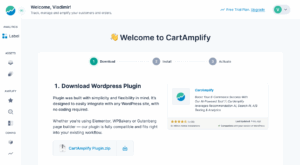
Download and Install Plugin
#
- Download CartAmplify Plugin ZIP file
-
Access your WordPress admin area and click Plugins -> Add New. Then, locate the Upload Plugin button at the top-left side of the page.
-
Select the plugin ZIP file from your computer that you want to upload, then click Install Now.
-
Wait for the plugin installation to finish and press Activate Plugin.
-
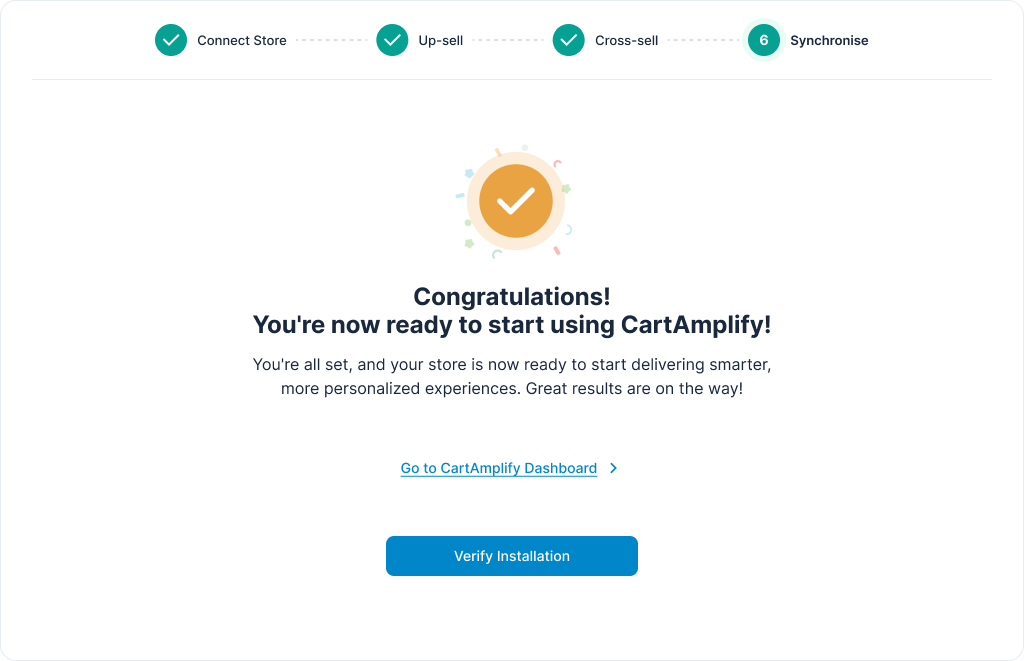
Once you activate the plugin click verify to finish set up
-
Verify Installation and Test API requests to confirm successful data retrieval and indexing.
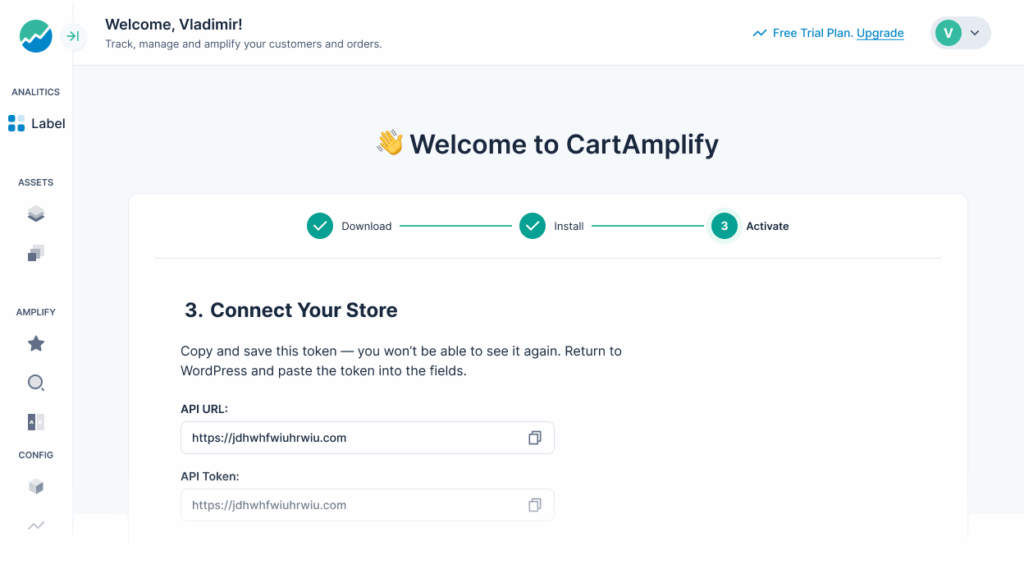
Connecting Your Store with API Key
#
-
Linking your store to CartAmplify app.
-
Navigate to the Integrations section.
-
Copy your ApI keys and API Token
-
Return to your WordPress dashboard. Go to CartAmplify -> Settings within the plugin.
-
Paste the API URL and API Token in the designated field and click Save Changes.
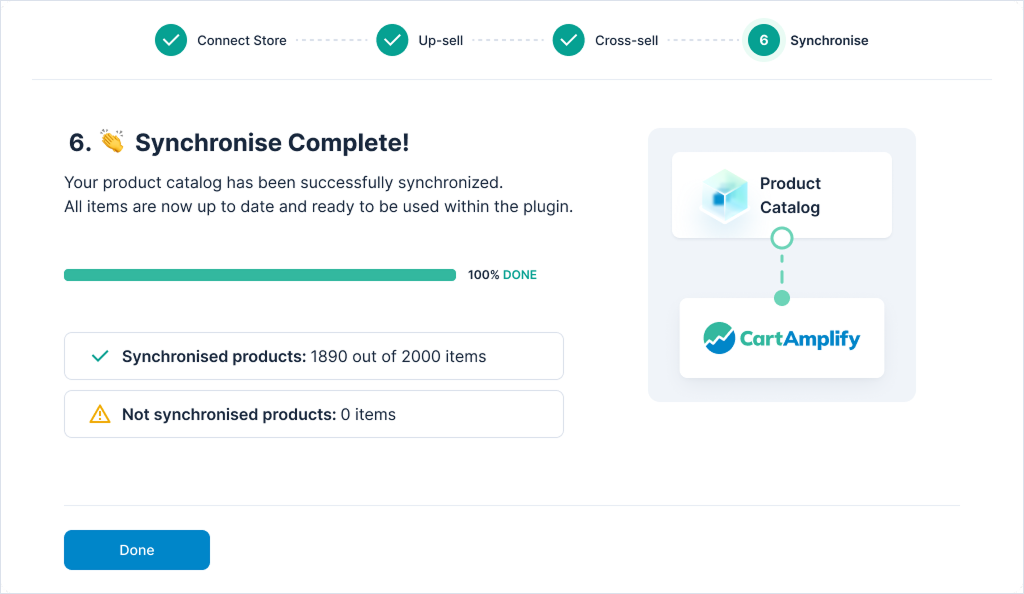
Syncing Product Catalog
#
-
Once connected, CartAmplify will automatically sync your product catalog and Connect interactions or occurrence on your website.
-
Go to CartAmplify > Settings in your WordPress dashboard.
-
Click the Sync Products button. This action will begin syncing your store’s product data with CartAmplify.
-
Ensure all product details, such as titles, descriptions, and images, are up-to-date.
-
You can manually trigger a sync from the Dashboard if needed.
Verifying Installation #
- Run a test search on your store to check if results appear as expected.
- Adjust search parameters and filters in the Settings section.
- Monitor logs and analytics to ensure everything is working smoothly.


